
Ri,

Below is the setup I would recommend to get the most “bang for buck” out of the budget outlined. It will give you a functioning power system that will be easy to upgrade as you go. - Basically, we’re putting together the “guts” and leaving room for expansion. - We’ll start by outlining the initial setup, and then go into the upgrades we would suggest. Click the image of the Wiring Diagram to follow along.
We’re also including a downloadable spreadsheet so that you can see the big picture, financially, as well as an image of the spread, if that’s easier.
Click here for the Spreadsheet (.xls). Click here for the image (.jpg)
To be clear: You will be setting up a 12 Volt System in Parallel Configuration. - Please take a look at our new Solar 101 Tutorial if you need clarification on that. (It’s a good idea to read through that article either way.) You will be hooking up the Solar Panels and Batteries in Parallel; Negative to Negative and Positive to Positive.
Initial Setup:
Fpor around $1500 you can start off with just shy of 400 watts of Solar Panels and 200 amp hours of Battery. These are really the most important factors in a system as far as how much you get out of it.
You’re looking at Two of the Eco-Worthy 195w Monocrystalline Solar Panels (380 watts total). The price recently went down on these, making them the best deal on the market right now.
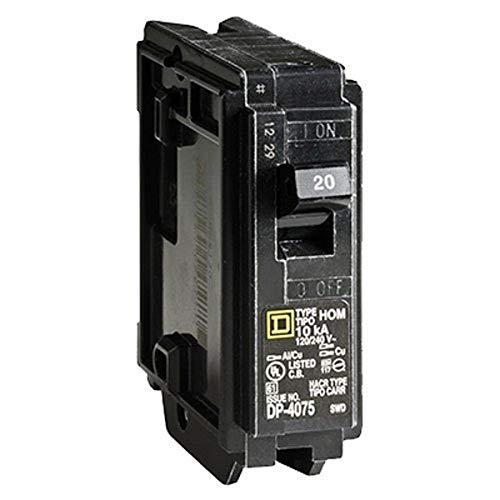
Between the Panels and Charge Controller you will have a 30 amp Breaker*. This is not only to protect the CC from damage, but will also act as a cutoff switch if you ever need to work on or replace the Charge Controller, Batteries, etc. (As long as you’re under 4 Panels you won’t need the Combiner Box).
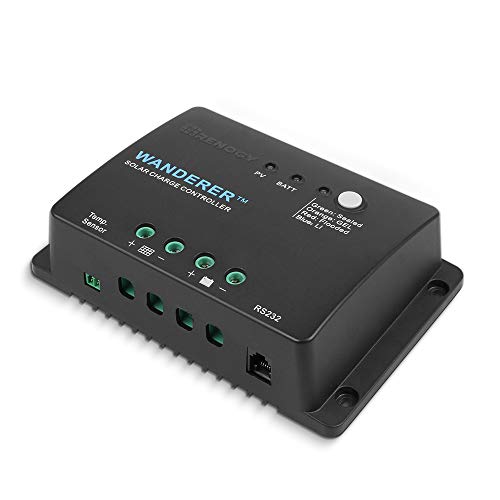
We’re going to run that into a Renogy Wanderer 30 amp PWM Charge Controller*. - PWM is the “older” technology and slightly less efficient than MPPT, but this very Charge Controller was the gold standard in the Nomad world up until about 7 years ago when MPPT became readily available (and relatively affordable).
Note: If you’re thinking back to our Tutorials you know that 30 amps is a bit shy of what you need for 380 watts (Good Catch!!). - The one good thing about PWM is that they have a little more headroom on the input. - This one is actually rated at 40 amps max, but we’re putting the 30 amp breaker in there to make sure we never actually hit that. In truth, you’ll likely never get the full 380 watts out of the Solar Panels Anyway.
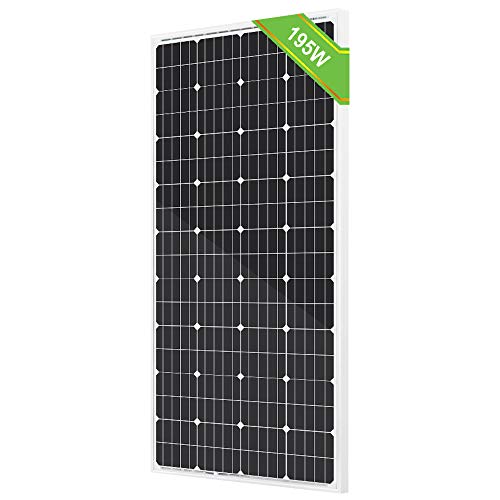

Click the images above to shop. - At this point (2 Panels, Breaker, Charge Controller) you’re just over $400.

Upgrade Info: Using the PWM is a fair trade off to stay within our budget. For about $100 more you could upgrade to The Renogy Rover 40 amp MPPT Charge Controller (click for link), however, you may want to wait until you’re sure that you don’t want to add another Solar Panel. - If you do, you’d be looking at a 60 amp CC at that point… Make the upgrade once. - If it were me, I would probably just go with the 60 amp version from the beginning, but this one (click the image) is around $180 vs. $35 for the PWM. - It’s your call. Either answer will work.
*If you go with the 60 amp CC Upgrade, be sure to replace the Breaker above to a 60 amp as well.
*If you find that your batteries are not charging to full capacity on sunny days you can easily add another of the Eco-Worthy Panels. You would simply plug it right in to the existing lines ( + to + and - to -) and, as noted, upgrade your Charge Controller at the same time.
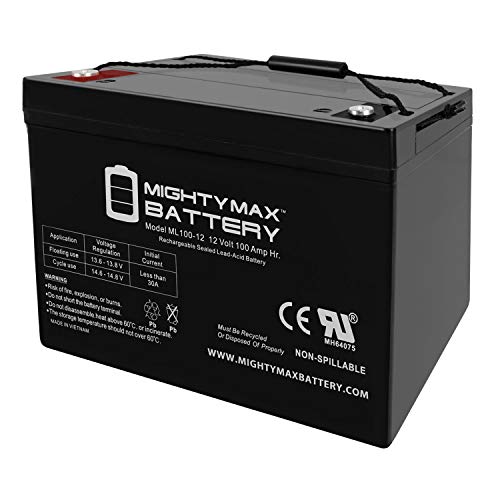
Your Charge Controller will feed / charge the Battery Bank. - Again, with the budget in mind, we suggest Two of the Mighty Max 100 amp hour AGM Batteries. - There’s a lot of talk about “AGM vs. Lithium Batteries”. Yes Lithium is better… maybe far better… but they are better in the way that a BMW is better than a Volkswagen…What is it that you actually “need”? the Beamer will last longer and work better, but the VW will still get where you need to go. - These guys will do just fine for 3-5 years if you keep them charged. Lithium batteries have gone down in price from $1000 each to around $600 in the last year, and I think they will continue to do so. - Three to five years from now, when you’re ready to upgrade, they will probably be around $300 each… I’m waiting until then. ;)
Upgrade Info: If you find that your Batteries are charging fully during the day, but running low overnight, you’ll want to add a Battery to this bank. Again, you will literally just connect another of the same Battery to the end of the chain (positive to positive, negative to negative). Eventually, you will probably want to have 4 of them total, for 400 amp hours. - You may find that the original 2 meet your needs, but if you do add-on, just make sure it’s the same Battery… No mixing and matching.
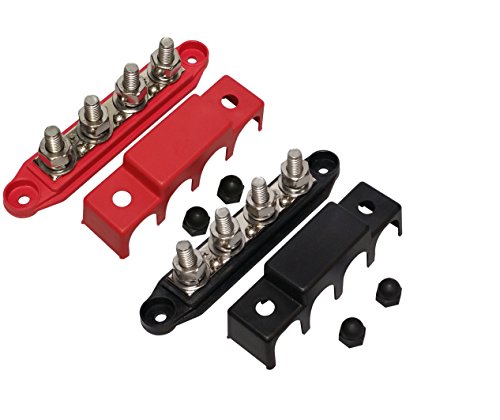
From the chart you can see that several things connect to the Battery Bank. (Charge Controller, Isolator, Inverter, 12 Volt Distribution, eventually Shore Power Charging, etc.). You will save yourself a lot of time, both in the initial installation and any future maintenance, if you use these Buss Bars (or Power Couplings) for your 12 Volt System. - You’ll connect all of the above, as well as your Positive and Negative from the Battery Bank to this point, including a ground to the vehicle chassis (frame). (To be clear: Nothing from the 120v system goes here.)

Connected directly to the Buss Bars you’ll have your 12 Volt Distribution Block. While we typically recommend a 12-space unit on the website, this 6-space option should be more than enough. Additionally, it comes with fuses. - Sizing the fuses is, frankly, a much longer conversation than it needs to be, but honesty, in your case: Dedicate a line and use a 10 amp for your Water Pump, and go with a 15 or 20 amp fuse in each of the other slots and it should be fine. (Use two for lights and two for outlets / charging) - If you run your TV off of 12v you can dedicate a 15 amp line for that. see the Solar 101 tutorial for more info.
Between the Battery Bank and the Inverter you will want another Breaker. - In this case it is at 10% (in amps) of the total wattage rating of the Inverter. - A 200 amp Breaker will do for the 2000 watt Inverter that we suggest.
Using this Inverter hinges on all of your 120v appliances being at or under 1500w, and you using them one-at-a-time, as I've suggested. - I realize that this may seem nit-picky or odd, but it is really the “secret to success”. It’s actually not that hard to do. - If you have the Insta-pot going, simply don’t try to use an electric skillet at the same time. - In our “sticks and bricks” house we are all used to having essentially “unlimited” power. In your Bus, everything draws from everything else. - Between your fridge and freezer you could be drawing 300 watts at any time. Since you need them running all the time you’ll need to keep that Power available.


To stay within the budget we are starting out without a Shore Power Connection. - (We’ll list that as a separate upgrade option below.) - To that end, and given that you need to be sure that you have enough Battery Storage to keep the fridge and freezer going, you will need a secondary way to charge the battery bank when it runs low (heavy usage, several cloudy days, etc.) - The Key Line Isolator will accomplish this for you. - It is invaluable to have the option of using the engine alternator to keep the charge or “top off” the batteries when needed. - Obviously, it will charge the Battery Bank whenever you are driving, but when you hear the Inverter start “beeping” (low battery warning), you simply fire up the engine, shut off everything that you don’t absolutely need, and let it run until you get back up over 60% or so on the charge (even when you are parked).
Electricity Nerd Stuff: It is listed at 140 amps, but the alternator in your engine probably only puts out about 65 amps anyway, so you shouldn’t have to worry about over-charging. - Please read that section of our Solar Cheat Sheet, and keep an eye on your alternator the first time you do this.
That’s IT!! (for now) - The total cost for the above is just over your $1500 threshold.
As noted, you will very likely want to add Panels and Batteries (and potentially upgrade the Charge Controller) as you go, but that is a pretty impressive system for the price.
The above does not include your household wiring. From the spreadsheet you can see that we estimate roughly another $150 for that.
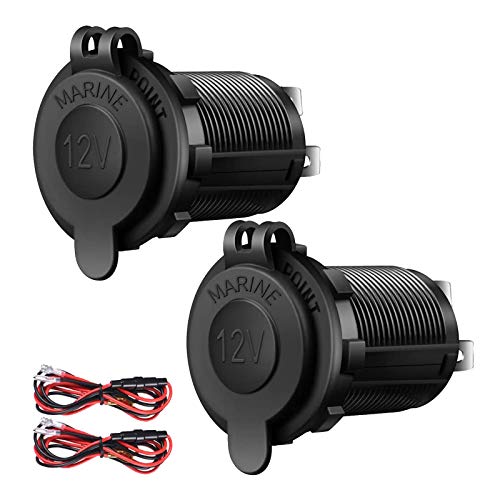
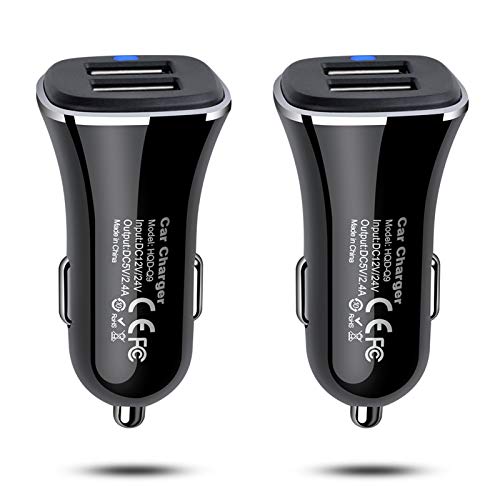
I would just go ahead and use 14 gauge wire for all of your 12v wiring. Again, there’s a lot of math you can do on this, but .14 AWG is almost always the right answer. Additionally, the cigarette lighter outlets below are a good price. The “USB Car adapters” that you currently use to charge your phones and such are exactly what you need in this case as well.

In truth, you can probably source most of your 120v wiring products locally. It may even be easier to do so, especially if you have a “Habitat for Humanity” nearby. - Here are the items you will need. - Hit us up if you need clarification on any of it.

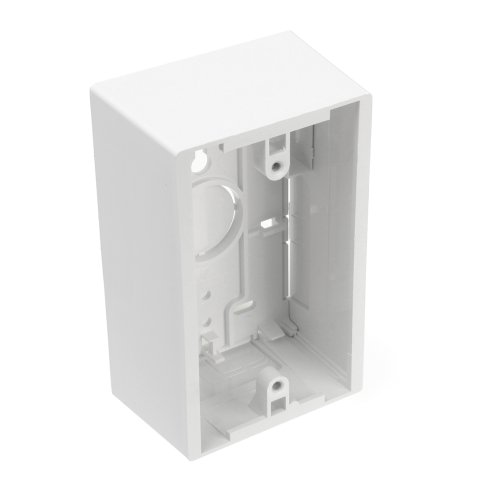

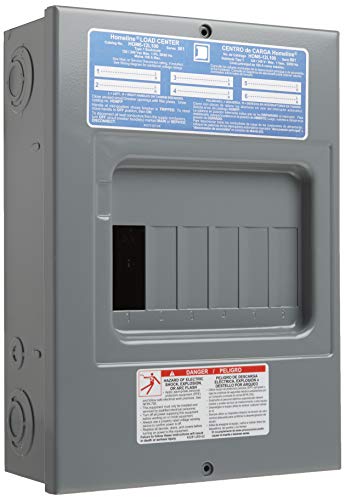

A note on 120v Distribution: While it is not a long-term solution, you technically can just run extension cords from the three outlets on the back of your Inverter. For no more than it costs, however, getting a Breaker Box and the appropriate breakers is the way to go… You can just head over to Lowe’s and find a 4-6 (120v) breaker box if you want to “put hands on it” first. - Honestly I would do that instead of buying it online, just to be sure I had a Breaker Box and Breakers that “fit”.
Now that you have a Power System up and running for around $1500, we need to address Shore Power. - As soon as finances provide, you will want to take advantage of this potential resource. 1. So that you can “plug in” when it’s available and 2. So that you can use a Generator to charge your Battery Bank (much more efficient than using the engine alternator). - Additionally, if you run Air Conditioning, you will find it much more effective to run it “from the generator” than the house batteries. - Using the Wiring Diagram above, here are the items we would suggest to make that happen.


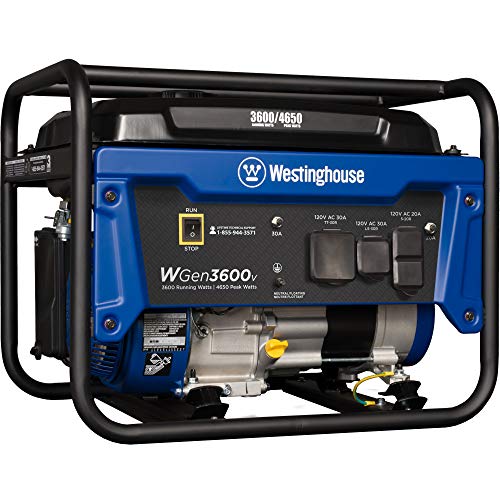
In addition, you will, eventually want to get a decent generator. You might check craigslist or FB Marketplace to find one that is less expensive, but ultimately you will want features similar to the unit below (most notably, a 30 amp connection that fits the shore power plug of the extension cord above). - Also, you will sometimes plug in a “regular old extension cord” into someone’s house (or a generator without said connection). The adapter below will make it work with the Shore Connection above..

That will do ya! Again, there is room for upgrades and expansion but this will absolutely get you on The Road! - Feel free to contact us with any thoughts, questions, or concerns.
-Freedom is closer than you think!